Post Creation Page
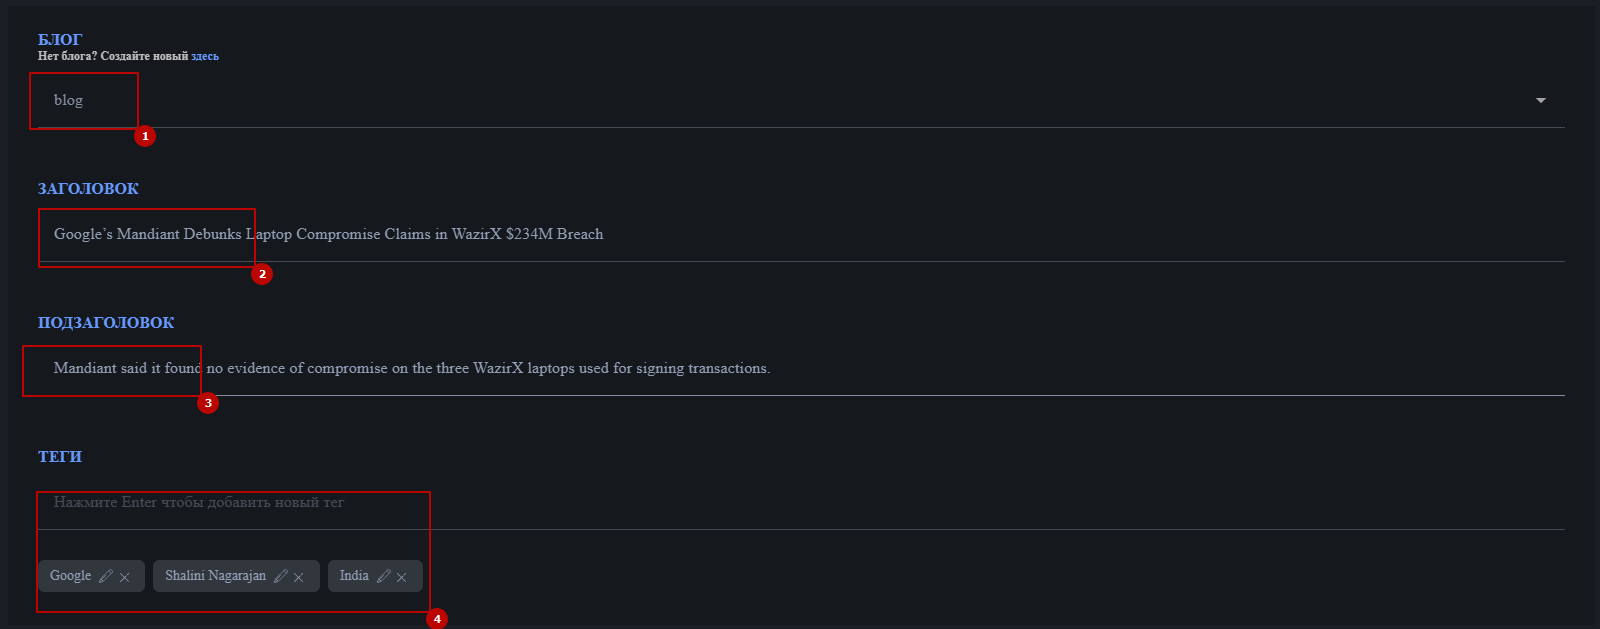
- To create a post, you must first select a blog it belongs to. A post cannot be created without selecting a blog.
- Post title (see the description of element placement on the home page). Up to 200 characters.
- Post subtitle. Up to 200 characters.
- Tag list. Enter the tag name in the field and press Enter. Tags can be edited or removed. Up to 20 characters.
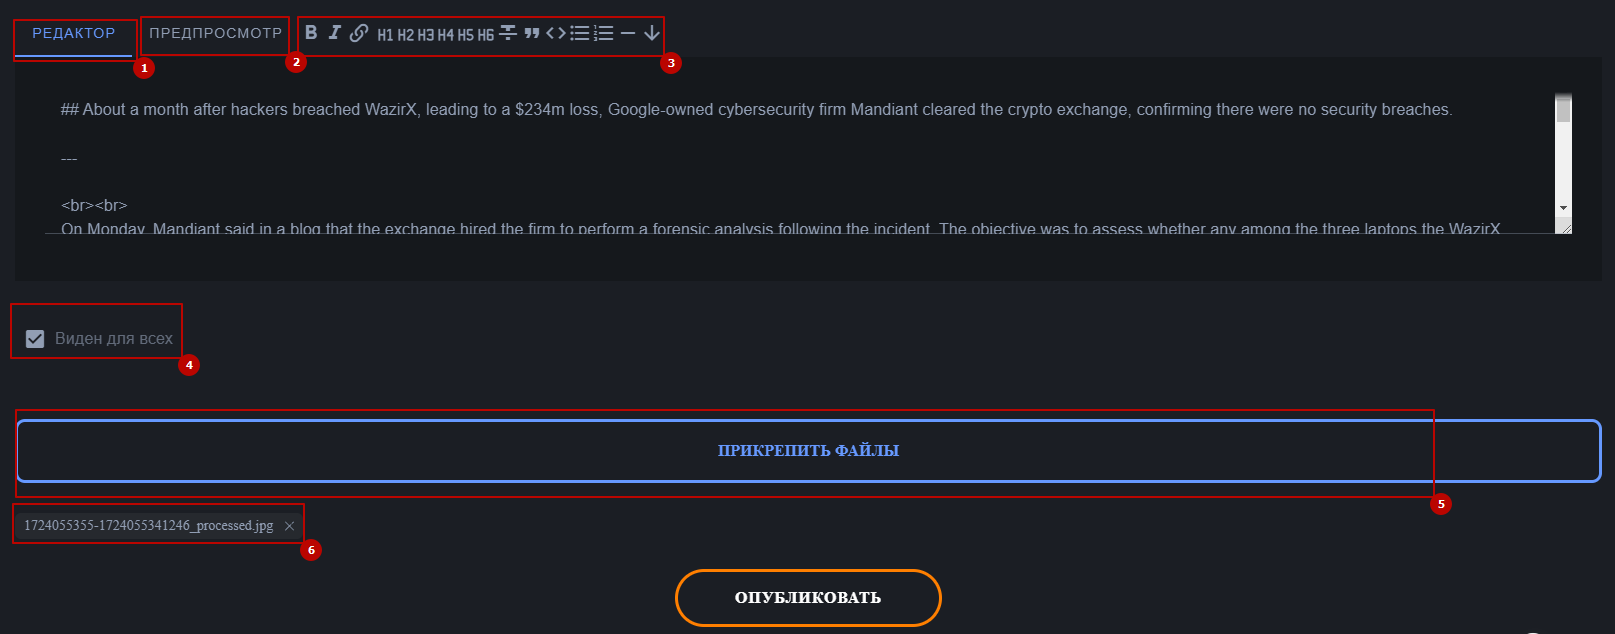
- Post Content Editor: This section allows you to add the main text of the post, with support for Markdown syntax. The maximum character limit is 10,000.
- Preview Mode: Switches the created content to preview mode, where you can see the text after applying Markdown tags.
- Text Editing Buttons: The buttons have the following functions in order: Bold the selected text, Italicize the selected text, Create a link, Set heading size from h1 to h6 (largest to smallest), Strikethrough text, Blockquote, Code block, Bullet list, Numbered list, Horizontal line, Line break.
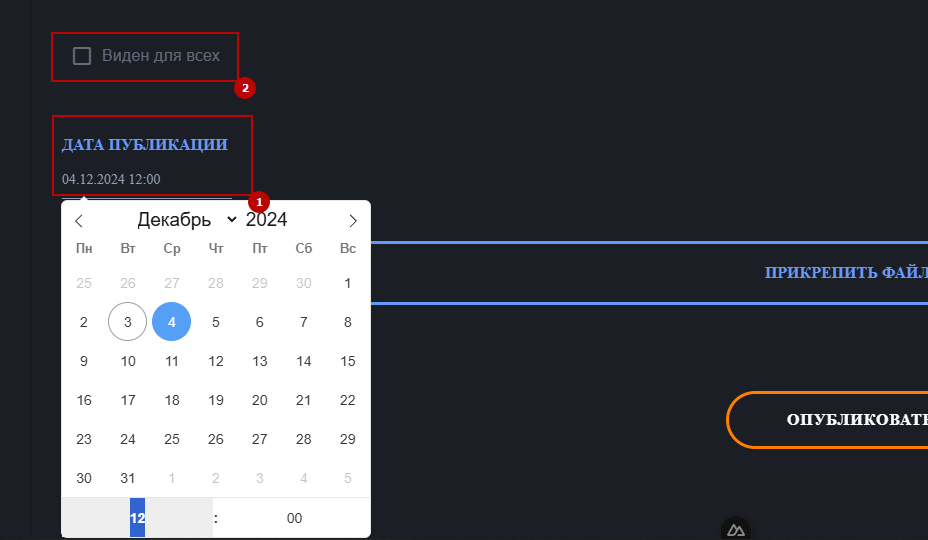
- Visibility: Choose whether the post is visible only to you or to all followers.
- Select File: Upload a file (image, video, audio).
- Attached Files List: Shows the files attached to the post. You can delete them if necessary.
You can publish a post at a specific time by unchecking the "Visible to everyone" checkbox. Alternatively, you can keep it private (the post will only be visible to you)